
Worst because the weather in New York has been awful: cold with rain that varied in intensity from a miserable drizzle, to tropical storm Andrea. When I rowed around the harbor this morning, the effect of the weather was evident in all the bare booms -- nearly half the boats didnt have their sails on yet.
Best, because business has been good and Ive been busy building a new iPhone app for a corporate client. I never complain about too much business these days, even if it interferes with sailing and building and finishing my book.
Also best because Helena and I spent a week in coastal Maine, seeing all the beautiful wooden boats from Boothbay Harbor to Camden to Brooklin and the Wooden Boat School.
 |
| Me in Wooden Boats workshop |
With all the rain, Ive been bailing Cabin Boy more than Ive been rowing him. That meant scooping out gallons of water with a cut-off plastic bleach bottle. Ive always used that sort of bailer because... well, because everyone else did. And lets face it, whats more appropriate for bailing out a white plastic dinghy than half a white plastic bottle?
But after scooping out a hundred gallons or so over the course of a particularly bad week, I got to thinking that there must be a better way... there must be!
While I was in Maine, I bought a copy of Hervey Garrett Smiths classic "The Marlinspike Sailor". This book was printed in 1956, three years after I was born, and its a collection of useful and interesting things to make, like rope mats, sea chests, canvas buckets, and... and... plans for an old-fashioned wooden dingy pump.
Actually, the word plans is an exaggeration. Like lots of olde time writers, Hervey assumed his readers were more-than-competent woodworkers who didnt need no stinkin plans. The book supplies a few drawings of the two valves needed and one of the finished pump, along with some inspirational words, such as these, telling of the first time he borrowed an old-fashioned wooden pump:
The pump raised an enormous stream of water, and after a lifetime familiarity with all sorts of metal pumps I was struck by its quietness. There was none of the screeching, scraping, rusty clatter I had always known, and for the first time in my life I enjoyed pumping.But a few scant drawings and a few inspirational words were all I needed to start drawing the design for my own pump -- the perfect pump for getting gallons of cold rain out of poor old Cabin Boy. I started working on the it as soon as I got home.
So how does a wooden pump work? Hervey doesnt explain, presumably because everyone in his day knew how they worked. I had no idea, but it didnt take long to figure it out. These are simple machines, whose history is well known. They were invented by a Greek (of course) named Ctesibius -- known as the father of pneumatics -- sometime around 250 B.C.
 |
| Simple lift pump |
On the downstroke, the lower valve closes, the upper one opens, and water is forced through the upper valve into the barrel above the valve.
On the next upstroke, the water above the upper valve is forced out of the spout, while the barrel below the upper valve again fills with water.
Its all much simpler than it sounds.
I again called on my scrap pile for the needed materials. I had a few old red cedar planks that had once been the floor of a patio deck, I think. The were weathered and too thick for the pump, but running them through the planer took care of both problems.
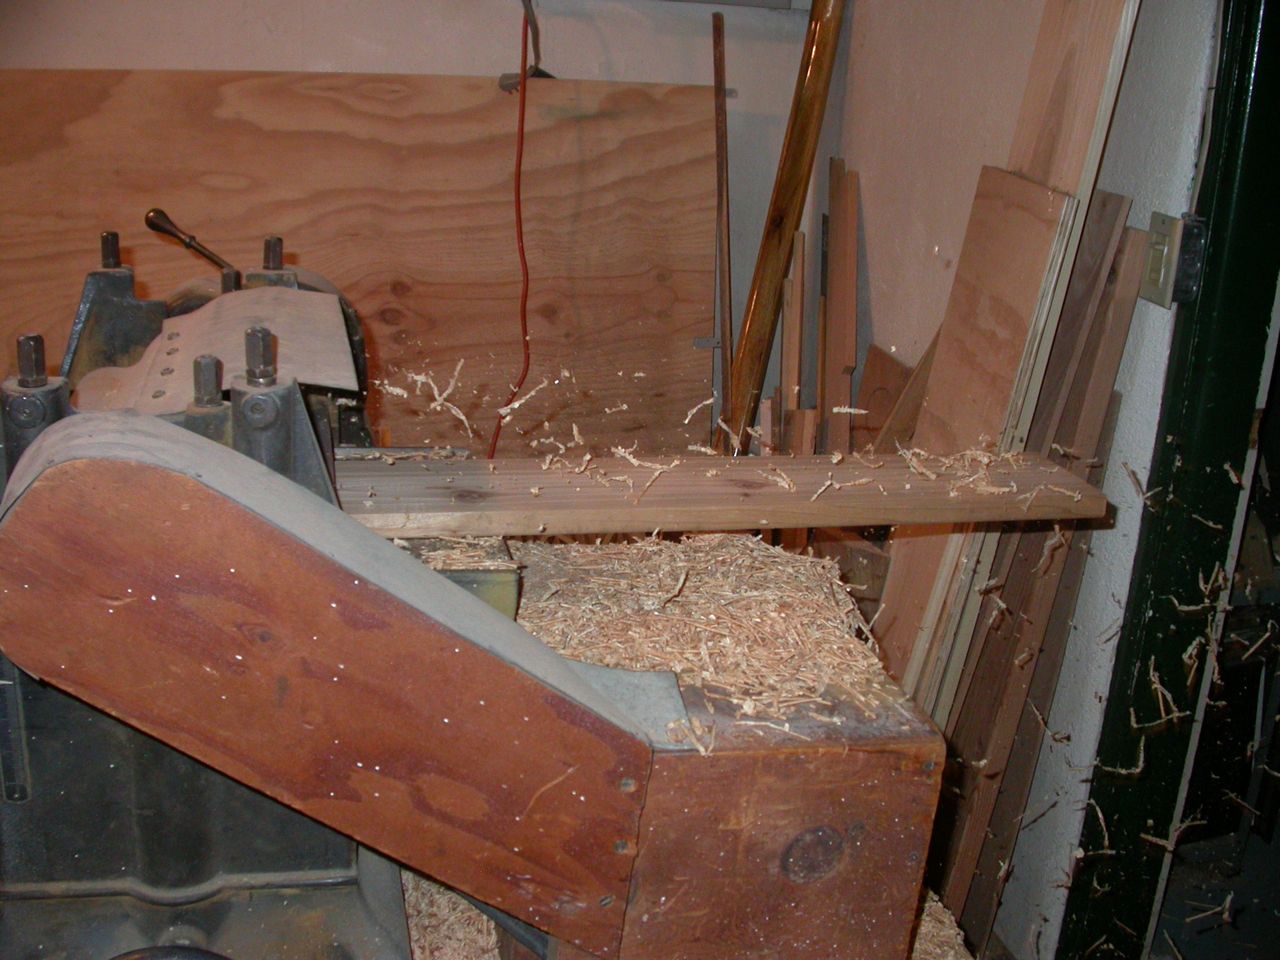 |
| Machining lumber from old cedar decking |
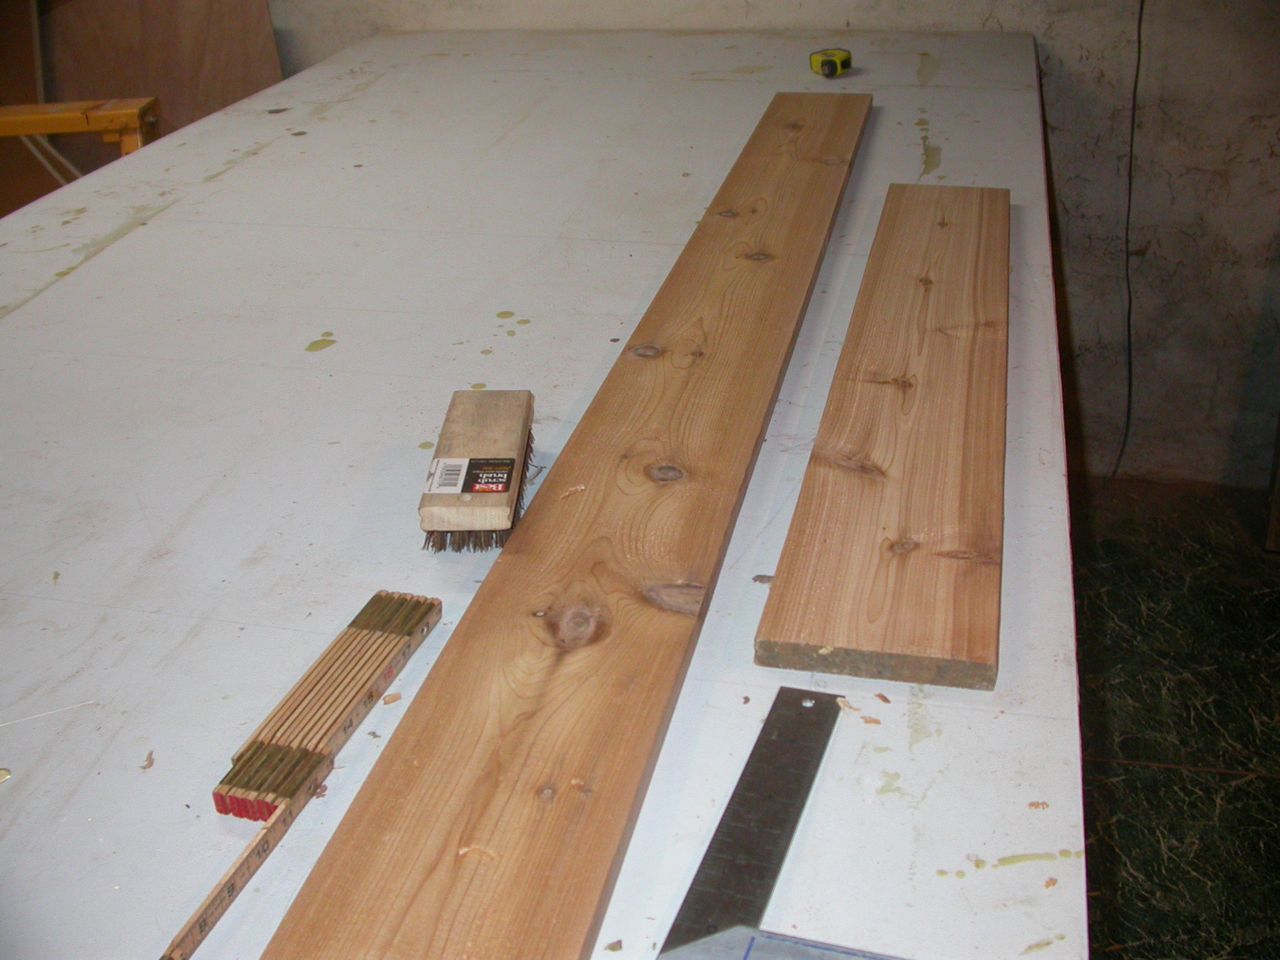 |
| 3/4" planks milled down to 1/2" |
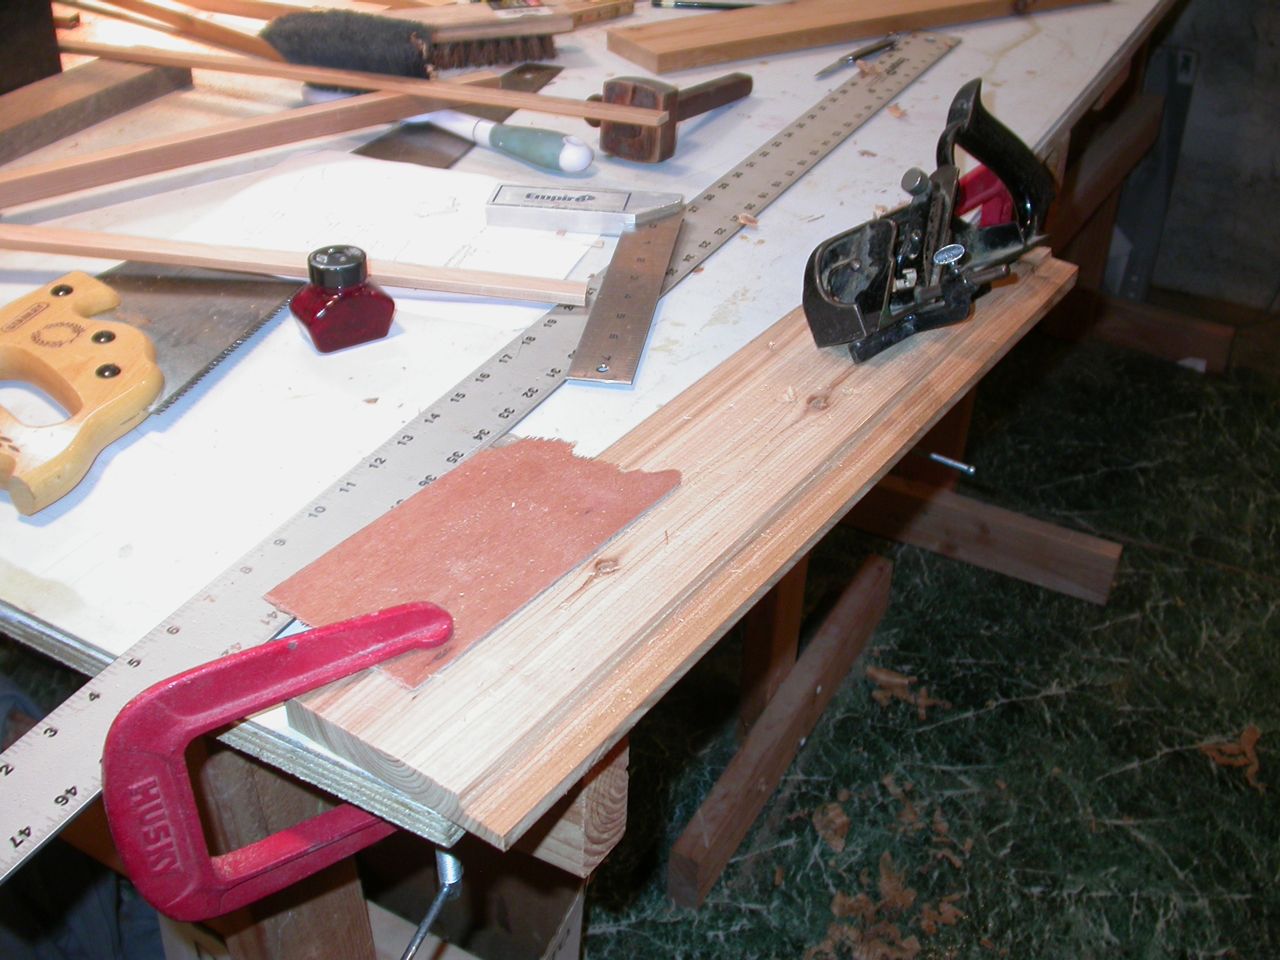 |
| Rabbeting joint |
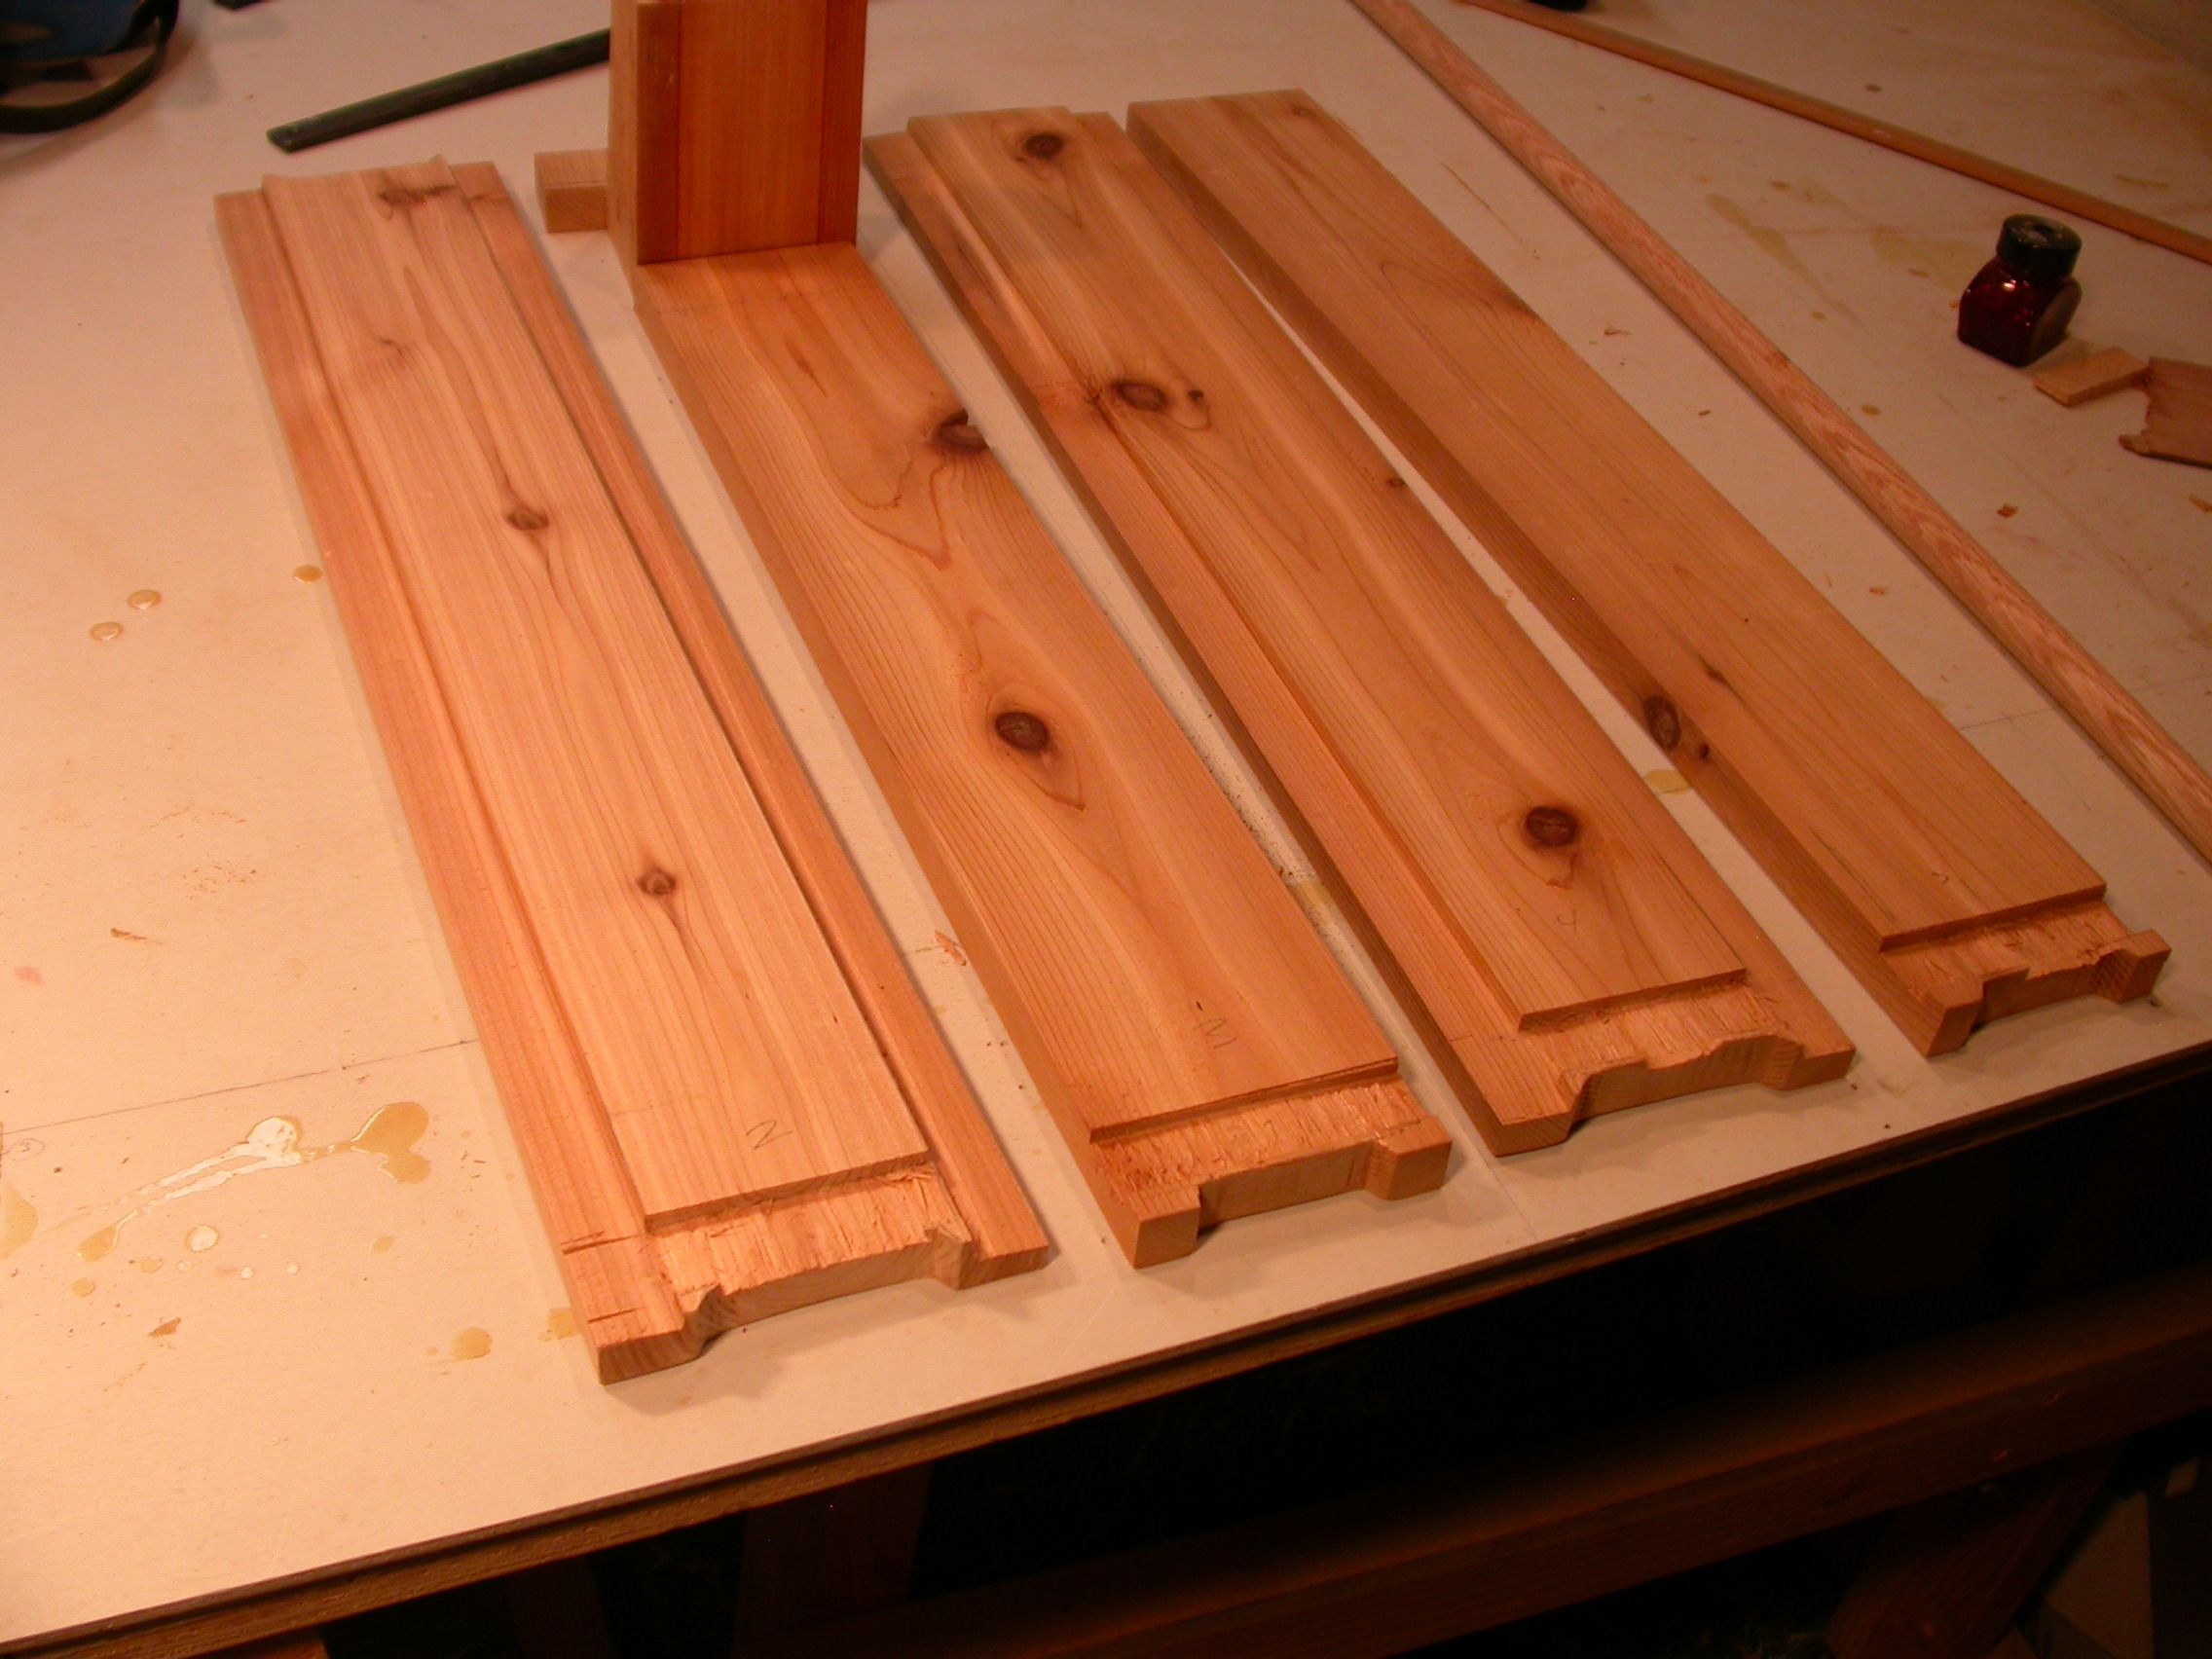 |
| Pump sides, roughly jointed |
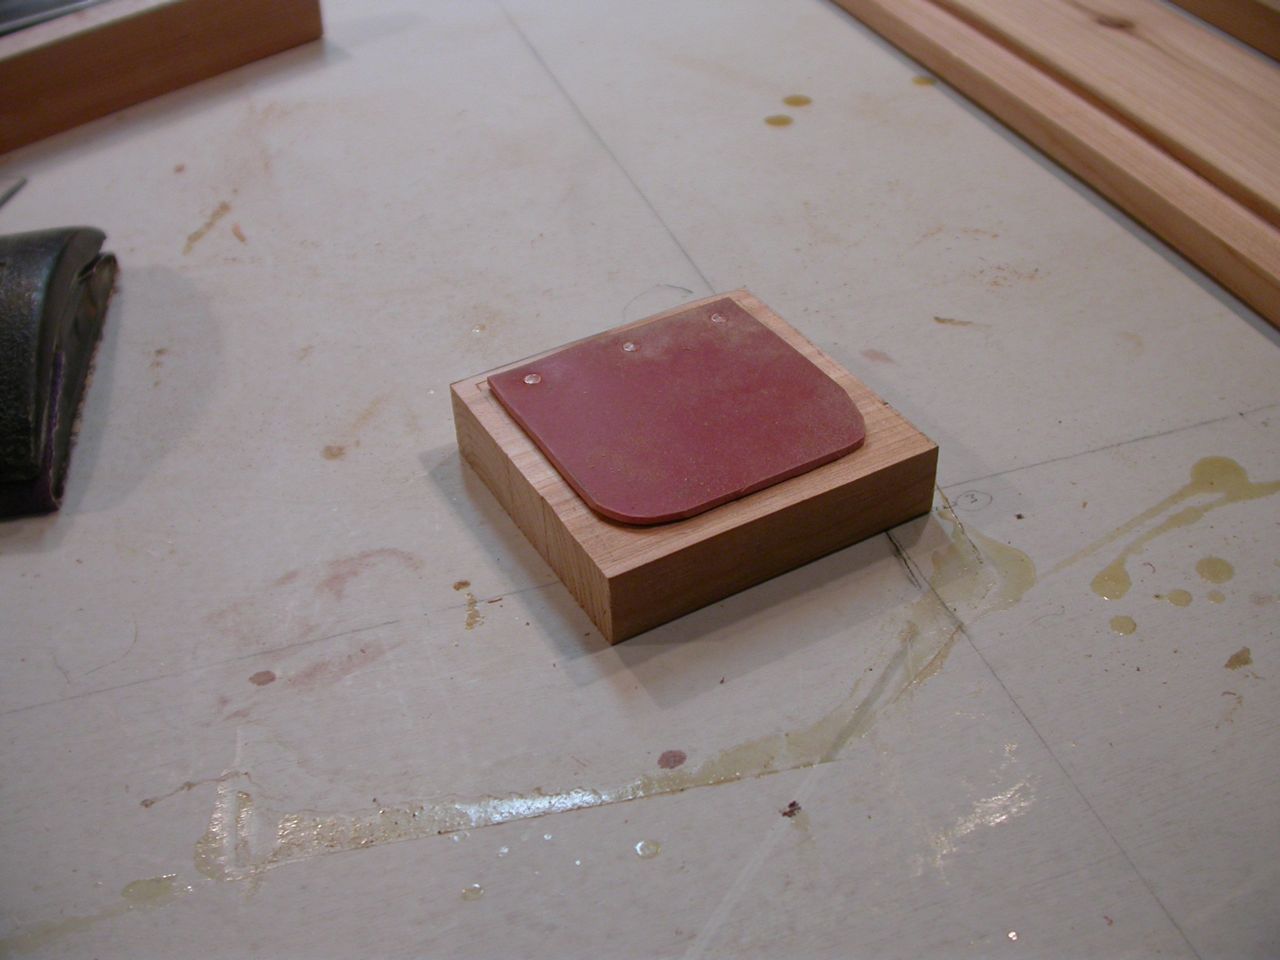
Here is the simple lower valve. Its basically a check valve, consisting of a wooden block with a hole cut in it, and a rubber flap tacked on top.
 |
| Bottom of pump with lower valve |
I used copper nails to tack down the rubber, so hopefully they wont rust away any time soon.
 |
| Lower valve open |
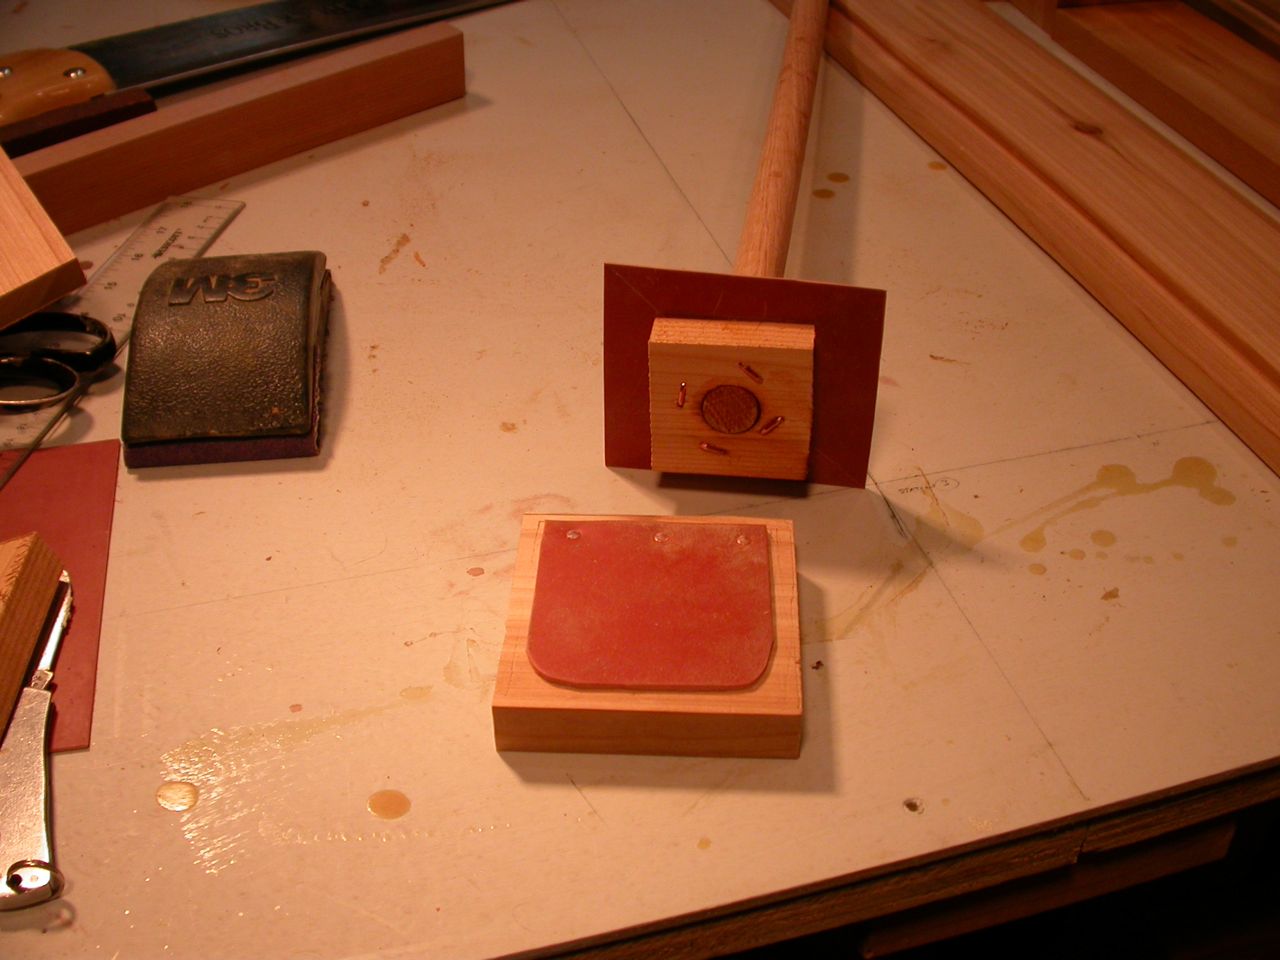 |
| Upper valve attached directly to plunger |
The rubber bends upwards, opening the upper valve on the downstroke, but lies flat on the square block, closing the valve on the upstroke.
Those are the moving parts.
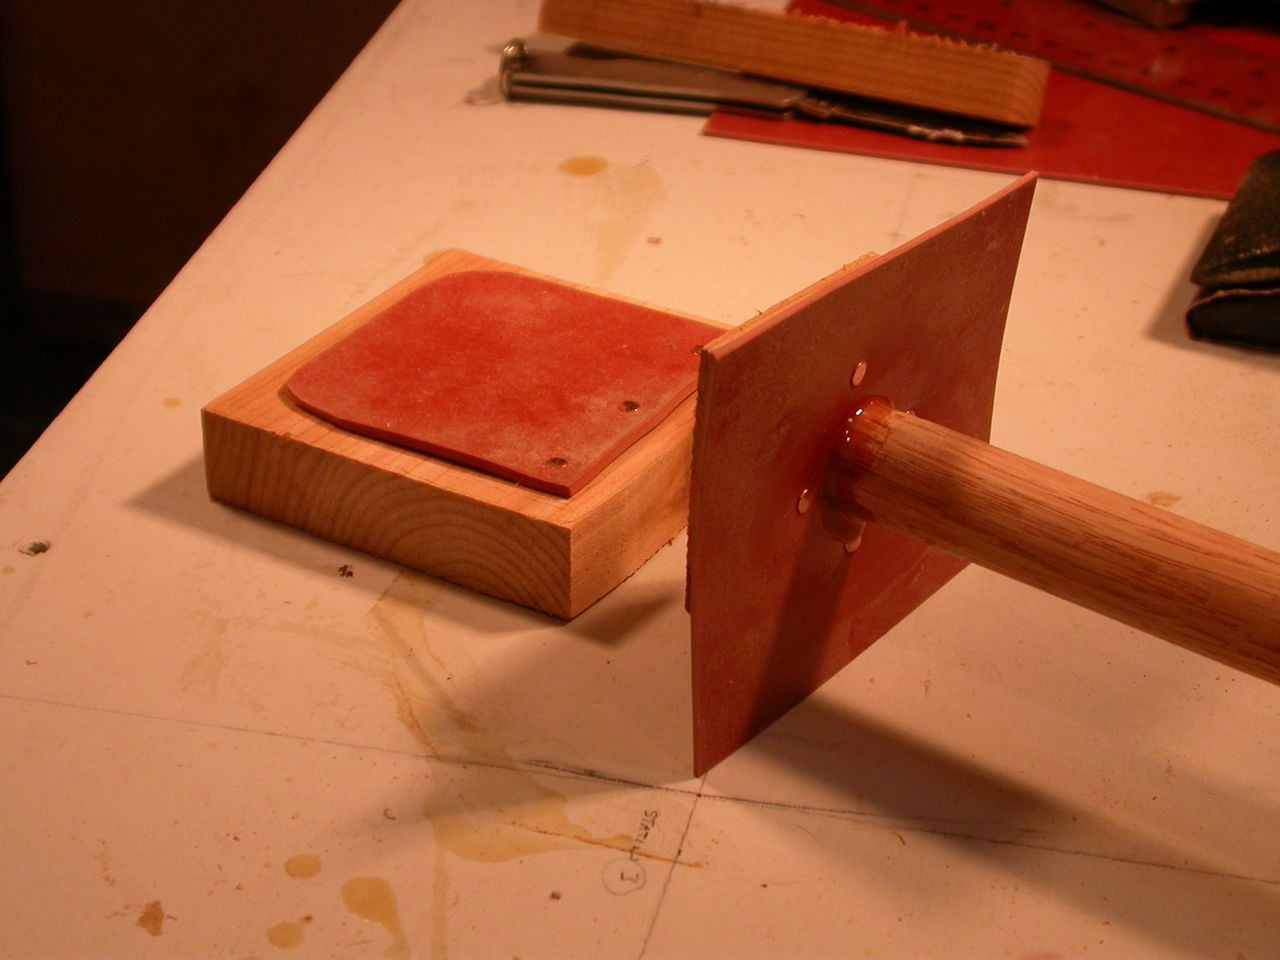 |
| View of upper valve showing placement of copper nails |
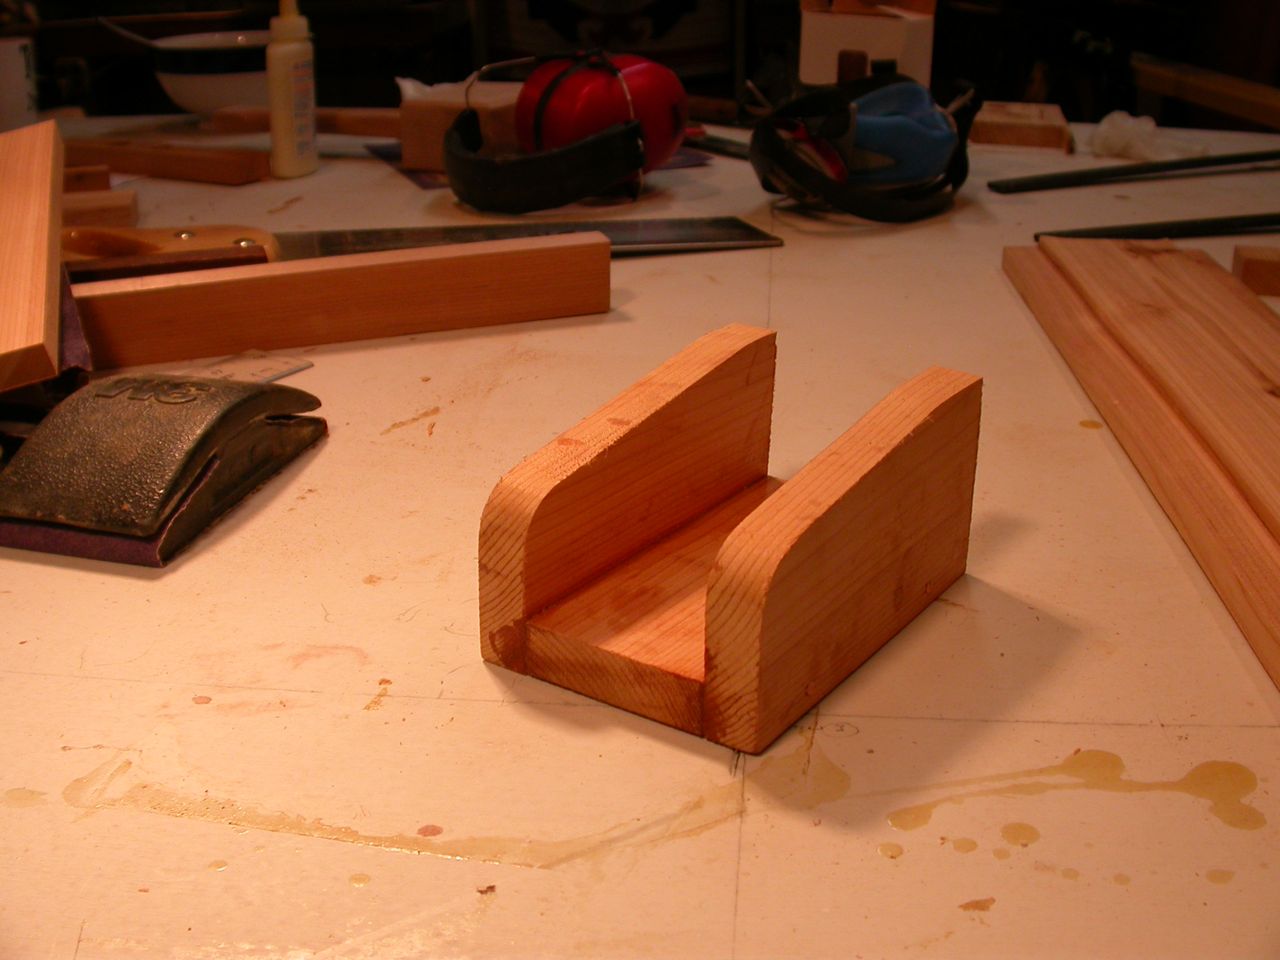 |
| Spout assembly, glued |
I recently treated myself to a set of Fuller counter-sinks, so I wanted to use bronze screws to hold the pump together. After drilling and counter-sinking all the holes, I dry assembled the pump to make sure everything fit properly. It already looked pretty darn good, but would it work?!?!
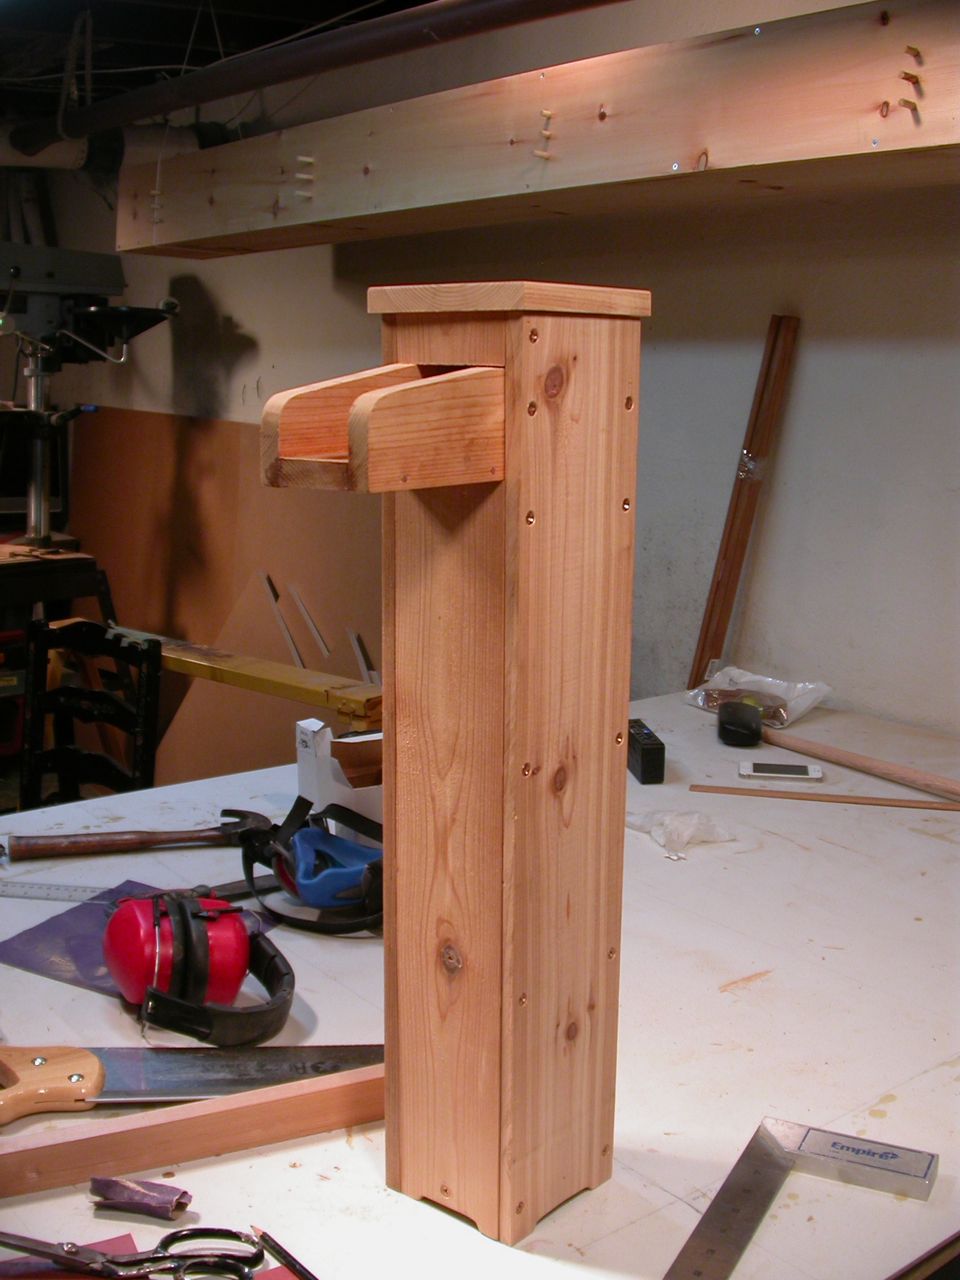 |
| Dry assembled for fit |
Of course, once the varnish can was open, there was no stopping me, so testing had to wait a few days while I gave the pump pieces several coats of exterior varnish.
Once that was done, I bedded and screwed the whole thing together. Naturally, it was a sunny, dry day (I must have scared the rain away), perfect for a photo shoot and test on the front lawn in front of Helenas garden.
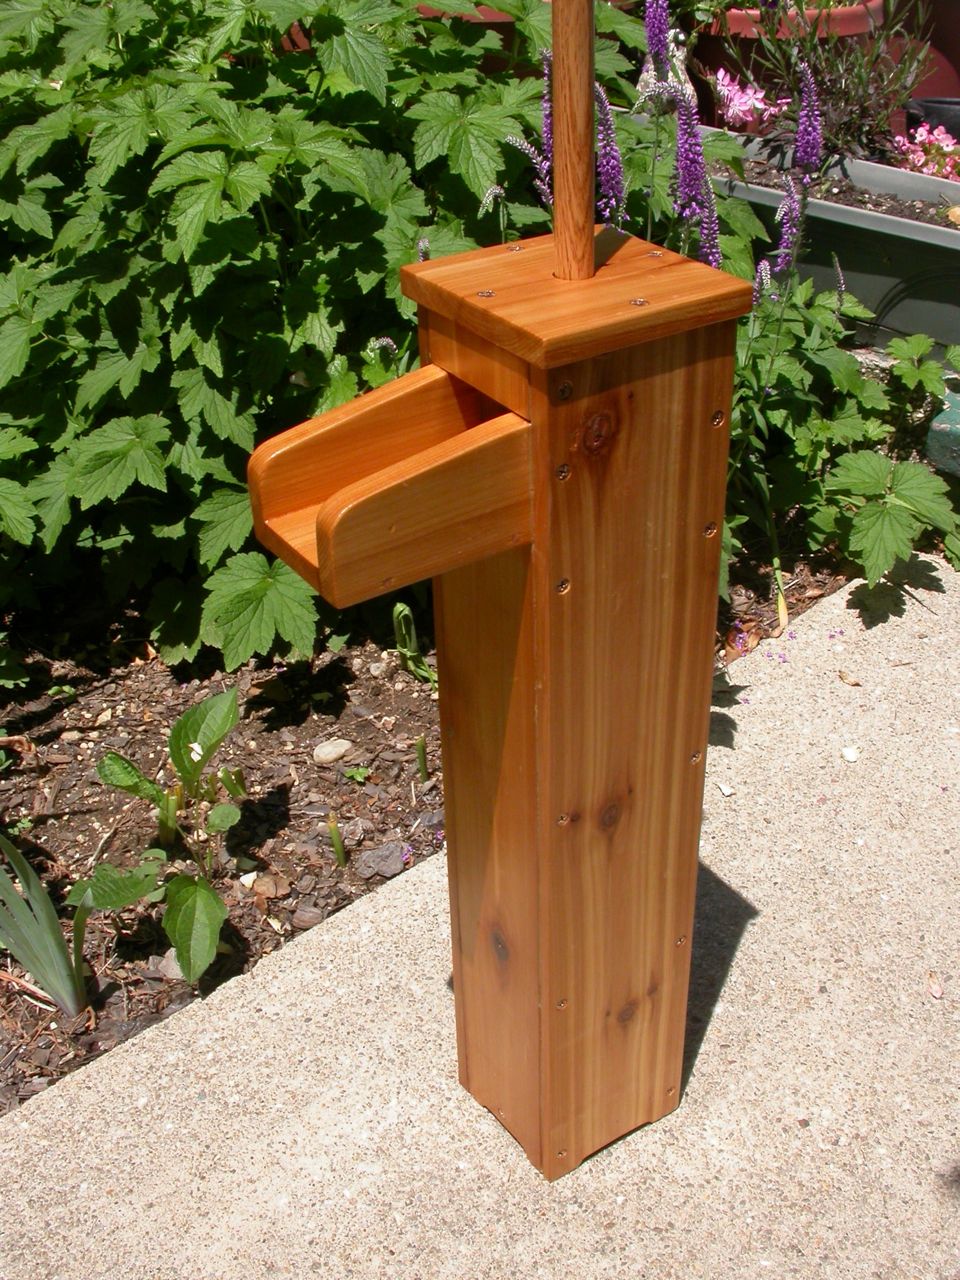 |
| Varnished and screwed and bedded together. |
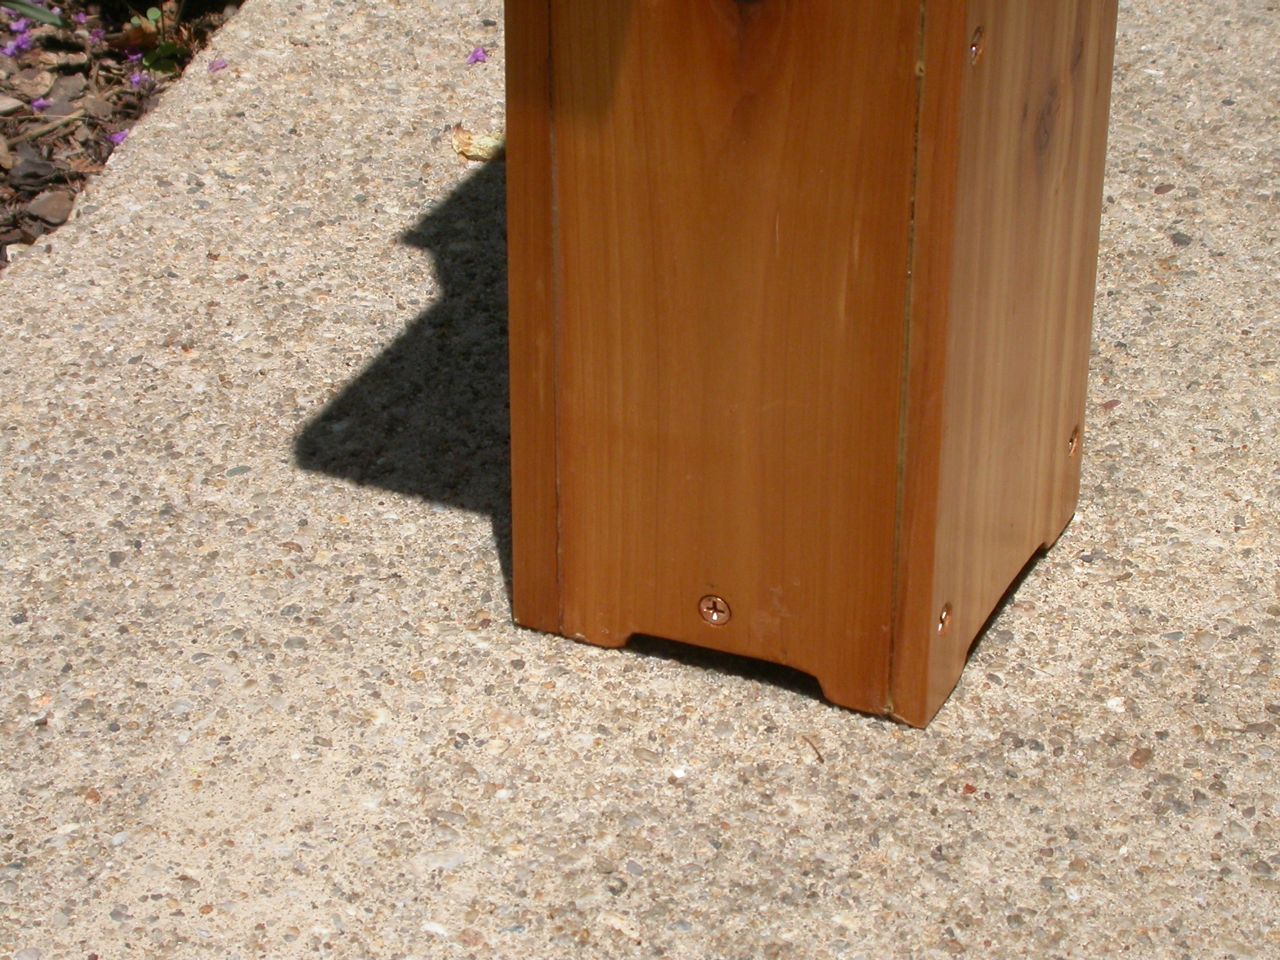 |
| Bottom detail showing water inlets |
 |
| Detail showing top and spout |
| Video demo - click to watch |
So! No adjustments required. I bed down the top cap to keep the water from squirting out, and my olde-time wooden pump was done.
Now if it would only rain...
Next Episode: Its about time


0 komentar:
Posting Komentar